
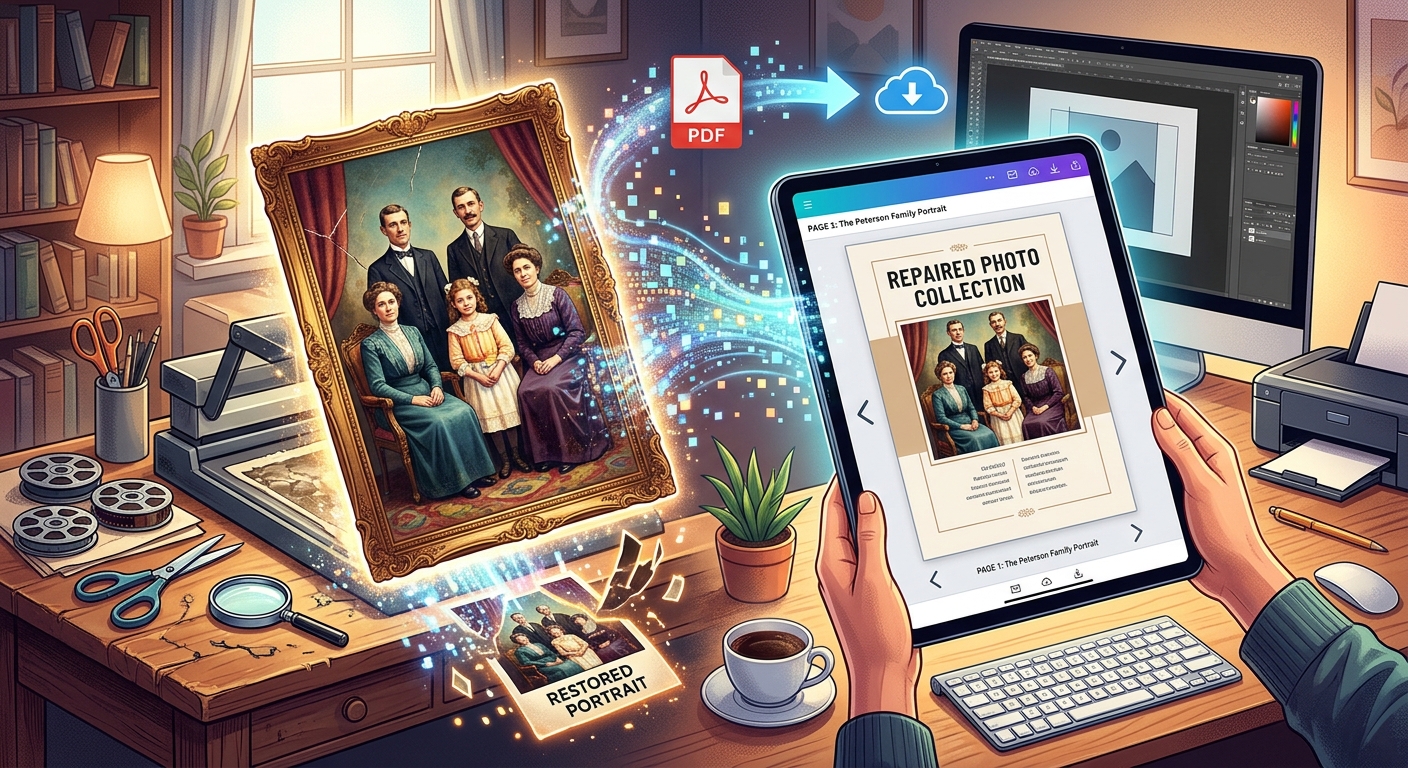
Your photos finally open again. Before you send them off, give those recovered files a safe home. A PDF can turn a scattered folder into an album that relatives, clients, or colleagues can read in order. But it should be a separate sharing copy. Keep your recovered images intact, then build the document from duplicates you can crop, resize, and arrange without risking the files you worked to recover.
Protect the recovered files first, then make a PDF that tells their story clearly.
- Keep the damaged source files and repaired outputs in separate folders, with a backup on another device.
- Check duplicates, choose their order, and prepare captions before conversion.
- Review the finished PDF for missing pages, visible damage, private details, and readable image quality.
Give Your Recovered Originals a Safe Home
After repair, you may have several versions of one photograph. There could be a damaged camera file, a repaired JPEG, and an edited version saved during testing. Treat these as different records. The damaged file may still help with another repair attempt. The repaired output is your recovered image. An edited copy is a derivative made for a particular purpose.
Create separate folders named Damaged Sources, Repaired Originals, and PDF Working Copies. Here, “repaired originals” means the untouched outputs from repair. It does not mean they are identical to the original camera files.
Copy repaired outputs into their storage folder before opening them in an editor. Make another copy on a separate storage device, then check that it opens. Two folders on one drive do not protect you if that drive fails.
If the photos came from a failing memory card, avoid using that card for new pictures or document exports. Work from files already copied to reliable storage. Keep the card aside if further recovery may be needed.
Check Each Photo Beyond Its Thumbnail
A thumbnail can look normal while the full photograph contains gray areas, missing sections, or broken colors. Open each repaired image at full size. Inspect faces, edges, and any area that looked damaged before repair. A successful opening tells you the file is readable. It does not prove that every part of the image survived.
Use this inspection to decide what belongs in the document. A partially recovered photograph may still matter to a family album or an incident record. Include it when useful, but describe its condition honestly. Converting it into a PDF will not restore missing pixels.
Before preparing the working copies, check:
- Visible condition: Look for blank regions, unusual bands, block damage, or abrupt color changes.
- Orientation: Confirm that portraits and landscapes display in the intended direction.
- Image identity: Compare similar frames so an incomplete version does not replace a better recovery.
- Useful detail: Check whether faces, signs, or other key features remain readable at the planned page size.
- Private content: Notice addresses, identification documents, screens, or other details that need attention before sharing.
If one photograph behaves differently across viewers, set it aside for a closer check. Build the document from files that open reliably. Keep questionable files in your preserved collection while you investigate.
Choose an Order That Makes Sense Without Explanation
A PDF is easier to follow when its order feels intentional. For a family collection, that might mean dates or events. For a client delivery, it might mean locations or project stages. For a recovery report, it might mean the original camera sequence.
Do not rely entirely on file modification dates. Repair, copying, and editing can change them. Embedded capture dates may help, but they may be missing or inaccurate. Compare the available dates with the photographs themselves.
Rename only your working copies using a simple numbered prefix. Names such as 001-arrival.jpg, 002-group-photo.jpg, and 003-departure.jpg are easy to sort. Leading zeros help keep file lists in sequence. Keep a separate note connecting renamed copies to their repaired source filenames when traceability matters.
Check the page preview after importing. Some tools follow selection order, while others sort by filename or use a different arrangement. The preview is your chance to catch a shuffled sequence before export.
Prepare Copies for a Consistent Page Layout
Decide how people will read the document. One photo per page gives each image room and makes page references simple. Several photos per page can suit a small album, provided faces and captions remain readable.
Choose a page size suited to the audience. A4 or Letter works for documents that may be printed. Landscape pages often suit wide photographs. Portrait pages can be more comfortable for written notes and vertical images.
Fit the Full Image Before Choosing a Crop
A fit setting usually places the entire photograph inside the available space, leaving margins where needed. A fill setting may crop the edges to cover the page. Start by fitting the whole image. Crop only after checking what would disappear.
Apply rotation and cropping to working copies. Some viewers use orientation metadata differently, which can produce unexpected results during conversion. Confirm the orientation in the exported PDF instead of trusting the editor preview alone.
Avoid Extra JPEG Saves
Repeated JPEG re-encoding can reduce image quality. Make necessary edits in one session and export a final working copy once where practical. Merely copying a file does not re-encode it.
If several editing stages are necessary, a lossless working format may help, provided your tools support it. Converting a JPEG to PNG does not recover detail already lost. It can, however, avoid another round of JPEG compression during intermediate saves.
Create the PDF From Your Prepared Copies
Once the photographs are checked and ordered, use a JPG to PDF converter to assemble the sharing document. Supply your working copies and inspect whatever layout and output settings are available. Keep the repaired originals outside this conversion step.
For sensitive photographs, check how your chosen tool handles files before using it. Opening a tool in a browser does not, by itself, tell you whether processing happens on your device or involves an upload. If that distinction matters and the handling is unclear, choose a workflow you can verify.
- Select the prepared images. Use the working folder to reduce the chance of including damaged sources or duplicate versions.
- Confirm the sequence. Compare the preview with your intended order, including the first and last photographs.
- Set the layout. Choose page size, orientation, margins, and image fitting where those controls are available.
- Choose suitable quality. Begin with enough detail for the intended viewing or printing size.
- Export a separate document. Save it with a clear name, such as family-photos-sharing-v1.pdf, in an output folder.
- Open the exported file. Review the actual PDF before sending it.
A PDF is a convenient presentation format. Depending on the conversion settings, its images may be resized, compressed, or stripped of metadata. Keep the separate repaired files for future editing, printing, or another document layout.
Add Context Without Guessing at Missing Details
A short title page can explain what the collection contains. Include the event or project name, an approximate date if known, and a brief note about recovery where useful. Avoid filling the opening page with technical details that recipients do not need.
Captions can identify people, locations, or steps in a sequence. Keep uncertain information visibly uncertain. “Date unknown” is more useful than an invented date that later gets treated as fact.
For partially recovered photographs, a plain note can prevent confusion: “Lower portion missing after recovery.” Avoid captions that imply the PDF fixed remaining damage.
Add captions as document text when your layout software supports it. Baking text into a photograph changes the working image and can make the caption difficult to read when the page is reduced.
Balance File Size With Readable Detail
A document intended for phone viewing may need less image detail than one intended for printing. Start with a readable export, then check its size. If it is too large for the delivery method, adjust a copy and compare the result.
Compression often affects fine textures, lettering, and edges around faces. Inspect those areas after reducing file size. There is no single size target that suits every collection. Ten simple photographs and ten detailed drone images can produce very different documents.
Avoid repeatedly compressing an already compressed PDF. Return to your prepared images or original document project and make another export. This gives you a clearer starting point for each quality adjustment.
Review the Document as a Recipient Would
Open the finished PDF in another viewer if one is available. Check every page, then view a few pages on a phone. Confirm that captions remain readable and that images do not appear sideways, stretched, or unexpectedly cropped.
Compare the page count with the intended layout. With one photo per page, the count should match your selected images plus any title or notes pages. For pages containing several photographs, check each group against the working folder.
Inspect document properties and visible content for personal information. Removing image metadata does not remove an address visible within a photograph. If something needs redaction, use a method that removes the underlying content, then verify the exported result.
Send the reviewed version. Keep its filename distinct from earlier drafts, and retain the working folder long enough to resolve any missing-page or quality questions.
Adobe explains how the Portable Document Format preserves document presentation across software and devices.
Keep a Safe Master and a Readable Copy
Your finished PDF should make the recovered photographs easy to browse and share. Your preserved files serve a different purpose: they give you a dependable starting point for later work.
Keep the damaged sources, untouched repair outputs, and verified backup after sharing. Store the PDF beside a brief note about its image selection and any known recovery limits. That small record can save confusion months later.
The workflow is straightforward: preserve, inspect, arrange, convert, and review. Once those steps are complete, you can share an ordered document while keeping the recovered photographs available for whatever comes next.